Honeywell T6 Installation Manual: A Comprehensive Guide
Welcome! This manual provides detailed instructions for installing and configuring your Honeywell T6 Pro Z-Wave thermostat, ensuring a smooth and efficient setup process.
Congratulations on selecting the Honeywell T6 Pro Z-Wave Programmable Thermostat! This smart thermostat offers advanced control over your home’s heating and cooling systems, enhancing comfort and potentially reducing energy consumption. This guide is designed to walk you through every step of the installation and setup process, from verifying package contents to integrating with your Z-Wave network.
The T6 thermostat boasts a user-friendly touchscreen interface and offers remote access capabilities (via Z-Wave, though app setup is currently unsupported). It’s a versatile solution for both new installations and upgrades to existing systems. Remember to prioritize safety by disconnecting power before beginning any wiring work. Explore honeywellhome.com for a complete user guide and additional resources.
Safety Precautions & Electrical Hazards
WARNING: Installation involves working with electrical wiring and presents a risk of electrical shock or equipment damage. ALWAYS disconnect power to your heating and cooling system at the breaker box or fuse before beginning any installation steps. Failure to do so could result in serious injury or death.
If you are uncomfortable working with electrical wiring, consult a qualified HVAC professional. Carefully read and save all instructions provided in this manual. Ensure the system voltage matches the thermostat’s requirements. Improper wiring can damage the thermostat and your HVAC equipment. Prioritize personal safety and adhere to all local electrical codes.
Package Contents Verification
Upon opening the package, carefully verify that all components are present. Your Honeywell T6 Pro Z-Wave thermostat package should include the T6 Pro Z-Wave Thermostat itself, and the UWP Mounting System. This system is crucial for a secure and proper installation.
Inspect all items for any signs of damage during shipping. If any parts are missing or damaged, do not proceed with installation. Contact customer support immediately for replacements. Retain the original packaging for potential returns or warranty claims. A complete package ensures a hassle-free installation experience.
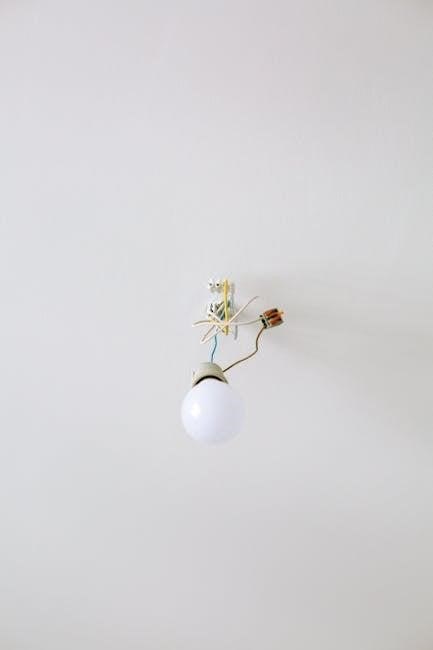
Identifying the T6 Pro Z-Wave Thermostat
The Honeywell T6 Pro Z-Wave thermostat is a programmable thermostat designed for smart home integration. It features a sleek touchscreen display for intuitive operation and control of your home’s heating and cooling systems. This model specifically incorporates Z-Wave technology, enabling seamless connectivity with other Z-Wave enabled devices within your network.
Visually, the thermostat is a rectangular unit with a clear, responsive touchscreen. Familiarize yourself with the touchscreen interface before beginning installation. The backplate is designed for wall mounting using the included UWP Mounting System. Proper identification ensures you are working with the correct component throughout the installation process.
UWP Mounting System Components
The Universal Wall Plate (UWP) Mounting System is crucial for a secure and aesthetically pleasing thermostat installation. This system typically includes a wall plate, mounting screws, and potentially wall anchors depending on your wall type. The wall plate provides a stable base for the T6 Pro thermostat and conceals the wiring, offering a clean finish.
Carefully unpack and identify all components of the UWP system. Ensure you have the correct screws for your wall material – use wall anchors if mounting into drywall. Proper mounting is essential for preventing the thermostat from becoming loose or misaligned after installation. Refer to the diagrams included in the package for a visual representation of the components and their arrangement.
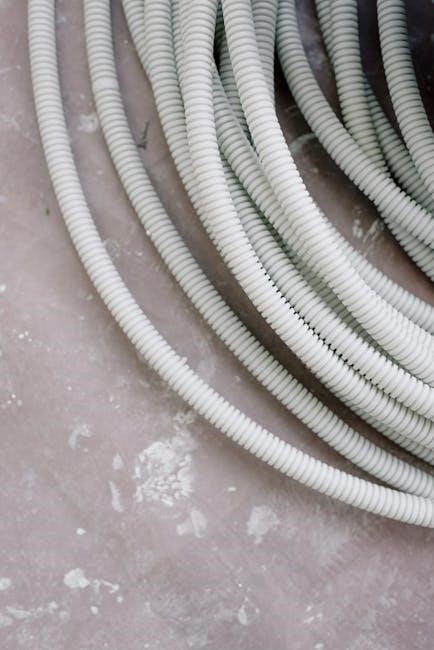
Tools Required for Installation
Before beginning the Honeywell T6 thermostat installation, gather the necessary tools to ensure a smooth and efficient process. A small flathead and Phillips head screwdriver are essential for terminal connections and mounting. A wire stripper will be needed for preparing the thermostat wires, ensuring clean and secure connections.
Additionally, a level is crucial for mounting the thermostat base plate straight, contributing to a professional appearance. A drill with appropriate drill bits may be required if wall anchors are needed for secure mounting. Finally, a voltage tester is highly recommended to verify power is disconnected before handling any wiring – prioritizing safety is paramount.
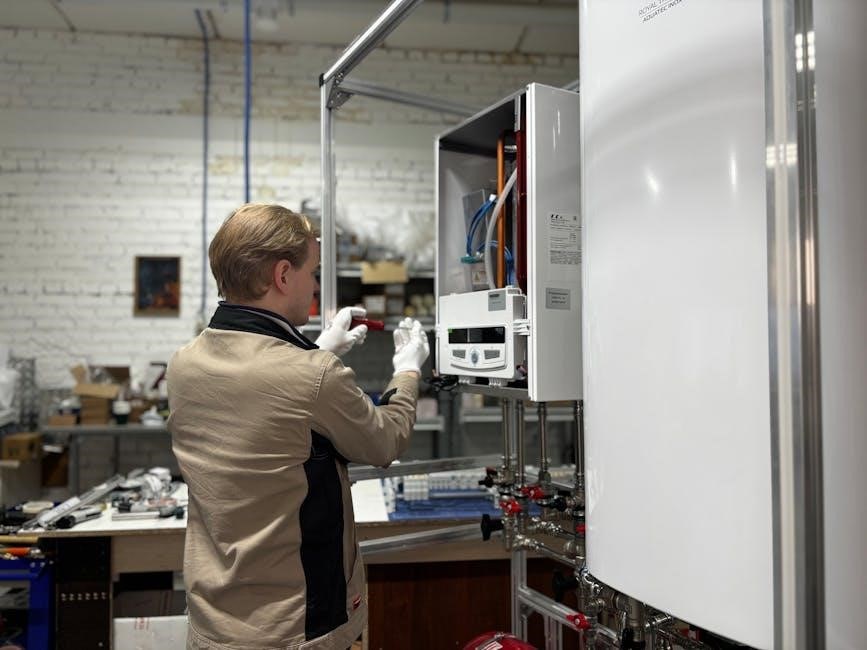
Preparing the Receiver Box for Installation (T6R-HW)
The T6R-HW receiver box is a crucial component for enabling Z-Wave functionality with your Honeywell T6 thermostat. Before installation, carefully inspect the receiver box for any visible damage. Ensure the receiver box is mounted in a suitable location, typically near the furnace or HVAC equipment, following all local electrical codes.
Proper wiring is essential; connect the receiver box wires according to the specific wiring diagram for your system – available at honeywelluk.com/professional-zone/resource-centre/. Double-check all connections for tightness and accuracy before proceeding. Secure the receiver box firmly to prevent any movement or disconnections during operation.
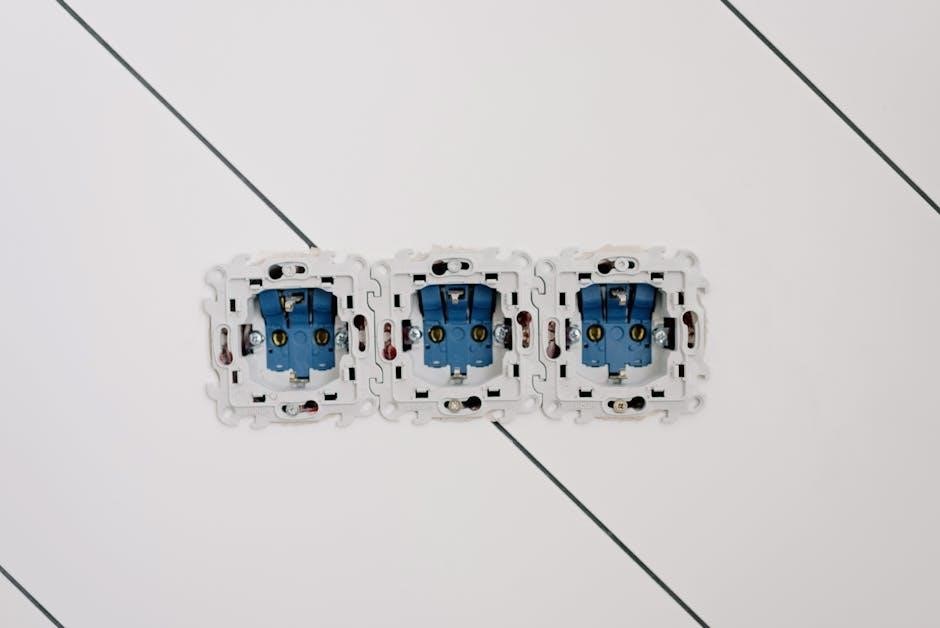
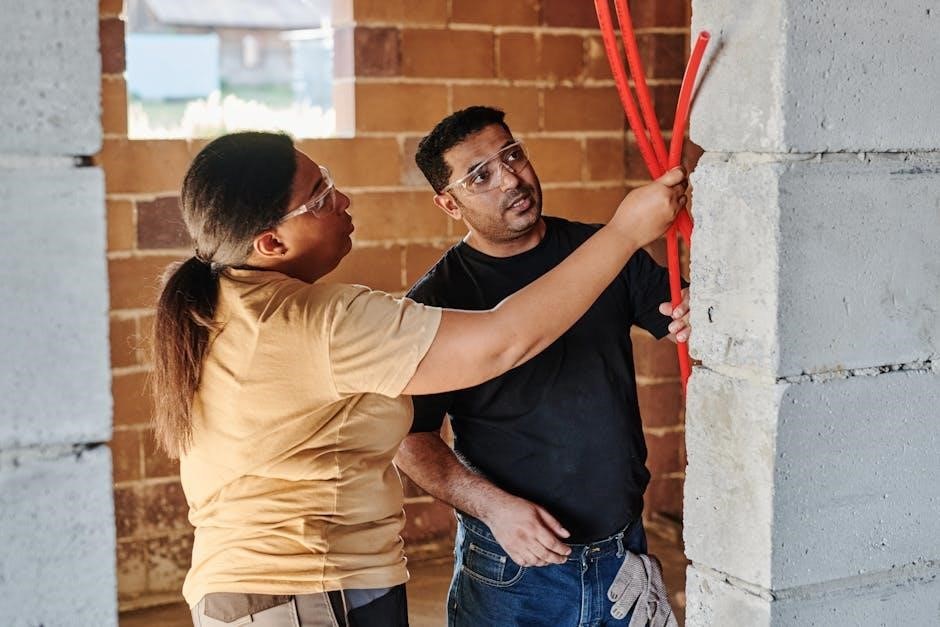
Wiring Diagrams Overview
Understanding the correct wiring configuration is paramount for a successful Honeywell T6 installation. Incorrect wiring can lead to system malfunction or even damage. A variety of wiring diagrams exist to accommodate different HVAC systems; therefore, identifying your specific setup is the first step.
Honeywell provides comprehensive wiring diagrams online at honeywelluk.com/professional-zone/resource-centre/. These diagrams illustrate the connections between the thermostat, receiver box (T6R-HW), and your existing HVAC equipment. Carefully review the diagram corresponding to your system type before commencing any wiring. Always disconnect power before working with electrical connections!
Understanding Wiring Configurations
The Honeywell T6 thermostat supports various wiring configurations, including conventional systems (like those with a common wire – ‘C’ wire) and systems requiring a receiver box (T6R-HW) for compatibility. Identifying your existing wiring is crucial. Common wire designations include R (power), W (heating), Y (cooling), and G (fan).
If you lack a ‘C’ wire, the T6R-HW receiver box provides a solution by utilizing existing wires to power the thermostat. Diagrams detail how to connect these wires correctly. Always prioritize safety and double-check connections against the appropriate wiring diagram before restoring power. Incorrect configurations can cause operational issues.
Accessing Wiring Diagrams Online (honeywelluk.com/professional-zone/resource-centre/)
For a comprehensive selection of wiring diagrams tailored to various heating and cooling systems, visit Honeywell’s professional resource centre at honeywelluk.com/professional-zone/resource-centre/. This online portal offers detailed visuals illustrating connections for different configurations, including those requiring the T6R-HW receiver box.
You’ll find diagrams categorized by system type, simplifying the search process. Downloading and referencing these diagrams during installation is highly recommended. Ensure the diagram matches your specific system before proceeding. The resource centre is regularly updated with new diagrams and helpful installation guides, providing ongoing support.
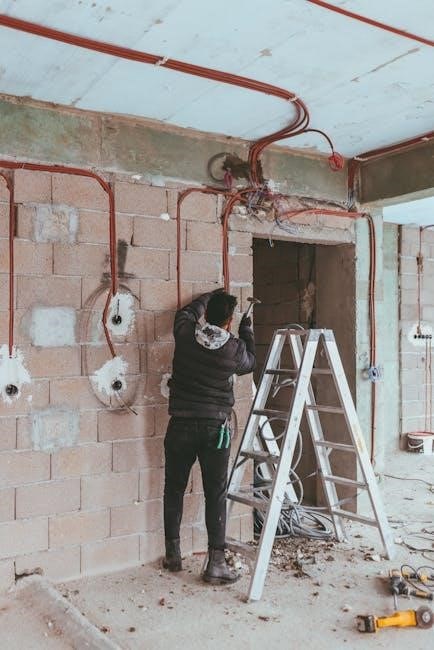
Step-by-Step Installation Process
Begin by disconnecting power to your heating and cooling system at the breaker box – this is a critical safety precaution. Next, carefully mount the thermostat base plate to the wall, ensuring it’s level and securely fastened. Then, meticulously connect the wiring according to the appropriate wiring diagram, referencing the online resources at honeywelluk.com/professional-zone/resource-centre/ for guidance.
Double-check all connections before restoring power. Following these steps ensures a safe and correct installation. Remember to read and save all instructions for future reference. Proper wiring is essential for optimal thermostat performance and system safety;
Disconnecting Power Before Installation
Crucially, before commencing any installation steps, disconnect power to your heating and cooling system at the main breaker panel. This is paramount for safety, preventing potential electrical shock or damage to equipment. Confirm power is completely off by testing the wires with a non-contact voltage tester.
Ignoring this step presents a significant ELECTRICAL HAZARD. Ensure everyone in the vicinity is aware that work is being performed on the electrical system. Double-check the breaker is in the ‘off’ position before touching any wires. Safety is the absolute priority during this initial phase of installation.
Mounting the Thermostat Base Plate
Utilize the included UWP mounting system components for secure attachment. Position the base plate on the wall, ensuring it’s level for optimal aesthetics and functionality. Mark the screw holes accurately using a pencil.
Drill pilot holes at the marked locations, if necessary, depending on your wall material. Secure the base plate to the wall using the provided screws. Ensure the screws are tightened firmly, but avoid over-tightening, which could damage the plate or wall. A properly mounted base plate is fundamental for stable thermostat operation and a professional finish.
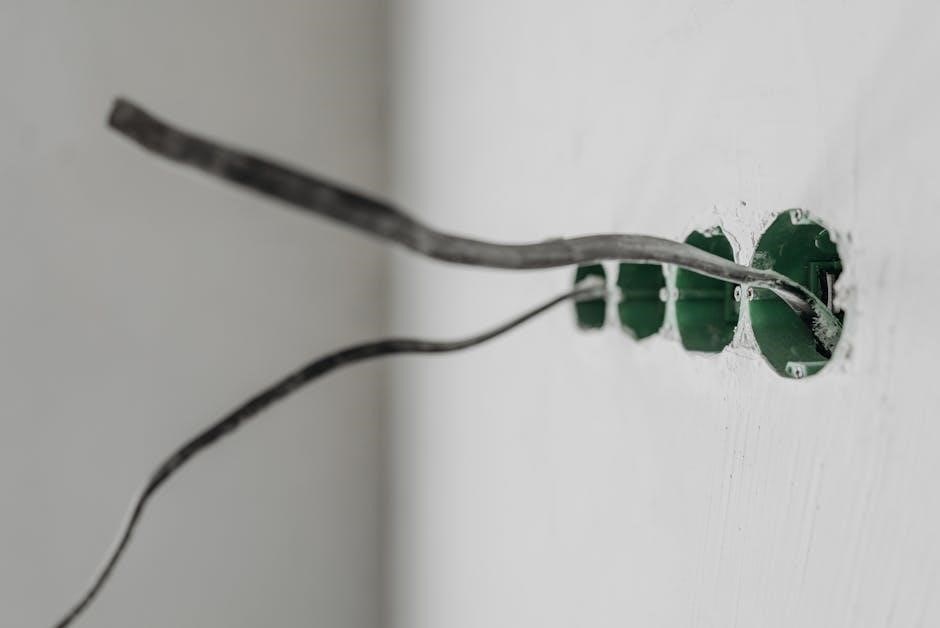
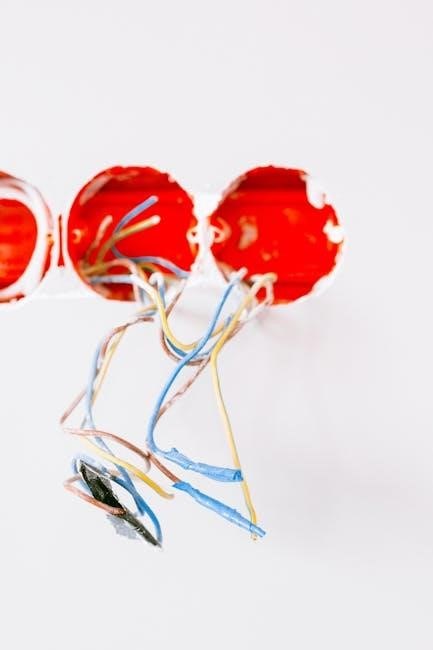
Connecting the Wiring
Crucially, ensure power is completely disconnected before proceeding. Carefully match the wires from your existing thermostat to the corresponding terminals on the T6 base plate. Refer to the wiring diagrams available at honeywelluk.com/professional-zone/resource-centre/ for accurate configurations.
Securely connect each wire to its designated terminal, ensuring a firm connection. Double-check all connections against the wiring diagram to prevent errors. Incorrect wiring can cause system malfunction or damage. Once all wires are connected, gently tuck them into the wall cavity, avoiding any pinching or strain.
Initial Thermostat Setup
After wiring is complete, restore power to the system. The Honeywell T6 thermostat will power on and initiate the setup process. Follow the on-screen prompts to configure basic settings, including date, time, and system type (heating, cooling, or heat pump).
Important Note: Currently, setup using the mobile app is unsupported. Finalize the setup directly through the touchscreen interface by touching the appropriate options. Visit honeywellhome.com for a complete user guide detailing all available settings and features. Save these instructions for future reference and troubleshooting.
Finalizing Setup (Touchscreen Operation)

Once the initial settings are configured, the T6 thermostat will guide you through finalizing the setup via its touchscreen. This includes setting your preferred temperature units (Fahrenheit or Celsius), configuring your heating and cooling schedules, and potentially linking to Z-Wave networks for smart home integration.
Carefully review each screen and select the options that best suit your needs. Remember that app setup is currently unsupported, so all configuration must be done directly on the thermostat. Refer to honeywellhome.com for detailed instructions and a comprehensive user guide to maximize your thermostat’s functionality.
App Setup Limitations (Currently Unsupported)
Please be aware that, at the time of this manual’s publication, setup and configuration of the Honeywell T6 Pro Z-Wave thermostat through a dedicated mobile application is currently unsupported. All initial setup, programming, and advanced configuration must be completed directly using the thermostat’s intuitive touchscreen interface.
While Honeywell continues to develop and enhance its product ecosystem, app control is not yet available. For the most up-to-date information regarding potential future app compatibility, please visit honeywellhome.com. We apologize for any inconvenience this may cause and appreciate your understanding.
Z-Wave Integration
The Honeywell T6 Pro Z-Wave thermostat utilizes Z-Wave technology, enabling seamless integration with compatible smart home hubs and systems. This allows for centralized control and automation of your home’s heating and cooling, alongside other Z-Wave enabled devices.
To integrate the T6 thermostat into your Z-Wave network, consult the documentation provided with your specific hub. Typically, this involves initiating a network inclusion mode on both the hub and the thermostat. Ensure the thermostat is powered on and in pairing mode before starting the inclusion process. Further details and troubleshooting tips can be found at honeywellhome.com.
User Guide Access (honeywellhome.com)
For a comprehensive and detailed user guide, including advanced features, troubleshooting, and frequently asked questions, please visit honeywellhome.com. This online resource provides an extensive library of information to help you maximize the benefits of your Honeywell T6 Pro Z-Wave thermostat.
The website offers downloadable manuals, instructional videos, and helpful articles covering everything from initial setup and programming to Z-Wave integration and advanced configuration options. Regularly checking honeywellhome.com ensures you have access to the latest updates and support materials for your thermostat, enhancing your overall user experience.
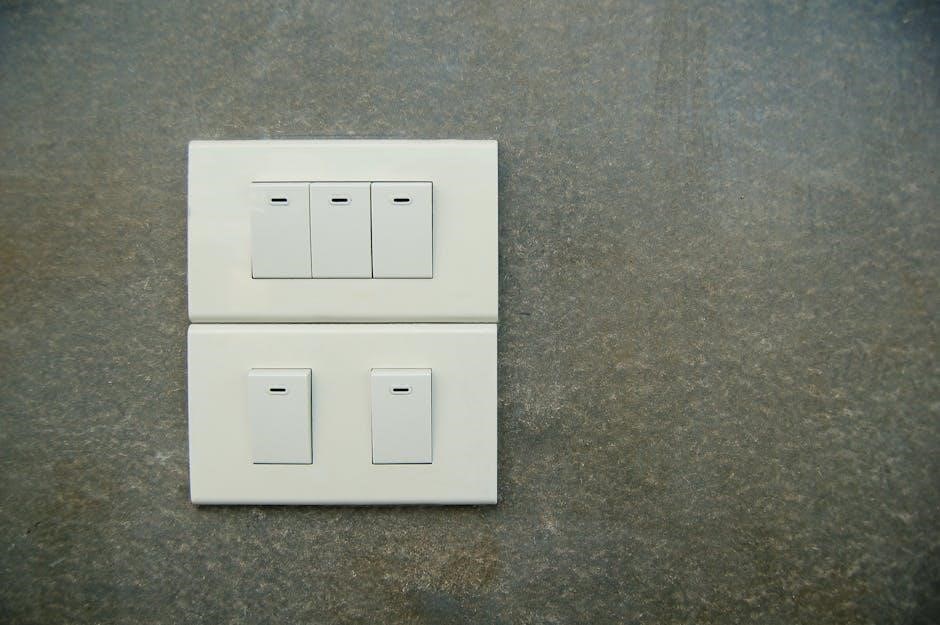
Understanding the Touchscreen Interface
The Honeywell T6 Pro Z-Wave thermostat features an intuitive touchscreen interface designed for easy navigation and control. Familiarize yourself with the icons and menus to efficiently adjust settings and monitor your home’s temperature. Key functions, such as setting schedules, adjusting temperature hold durations, and accessing system information, are readily available through simple taps and swipes.
The touchscreen allows for quick adjustments to heating and cooling modes, fan settings, and system preferences. Explore the various options to personalize your comfort and optimize energy usage. Remember to touch to finalize setup, as app configuration is currently unsupported.
Programming the Thermostat
The Honeywell T6 Pro Z-Wave thermostat allows for flexible programming to match your lifestyle and optimize energy savings. You can create customized schedules with different temperature settings for various times of the day and days of the week. Utilize the touchscreen interface to easily define these schedules, ensuring comfort when you’re home and efficiency when you’re away.
Explore options for setting temporary holds, permanent overrides, and vacation modes. Access a complete user guide at honeywellhome.com for detailed instructions and advanced configuration possibilities. Proper programming maximizes the benefits of your Z-Wave thermostat.
Troubleshooting Common Installation Issues
If you encounter difficulties during installation, first ensure power is disconnected to avoid electrical hazards. Verify all wiring connections are secure and match the appropriate wiring diagrams found at honeywelluk.com/professional-zone/resource-centre/. A common issue is incorrect wiring, leading to thermostat malfunction.
If the thermostat doesn’t power on, double-check the C-wire connection, as it’s crucial for consistent operation. For Z-Wave integration problems, confirm the thermostat is within range of your Z-Wave hub. Refer to the comprehensive user guide on honeywellhome.com for further assistance and detailed troubleshooting steps.
Resetting the Honeywell T6 Thermostat
Should your Honeywell T6 thermostat experience operational issues, a reset can often restore functionality. While specific reset procedures may vary, generally, accessing the thermostat’s settings menu via the touchscreen interface is the first step. Locate the “Reset” or “Factory Defaults” option within the settings.
Be aware that resetting will erase all personalized programming and configurations, returning the thermostat to its original factory state. After a reset, you’ll need to re-establish your desired settings and potentially re-pair the device with your Z-Wave network. Consult honeywellhome.com for detailed, model-specific reset instructions.
Advanced Configuration Options
Beyond basic programming, the Honeywell T6 offers advanced configuration options for tailored climate control. These include customizable scheduling with multiple periods per day, optimized start-up for efficient heating/cooling, and smart recovery which learns your home’s thermal characteristics.
Z-Wave integration allows for remote control and automation through compatible smart home hubs. Explore settings for filter change reminders, temperature offset calibration, and humidity control (if supported by your system). For comprehensive details and access to the full range of features, visit honeywellhome.com and delve into the complete user guide.
Customer Support Resources
For assistance beyond this manual, Honeywell provides extensive customer support resources. Visit honeywellhome.com for a comprehensive FAQ section, troubleshooting guides, and downloadable documentation. Explore the “Professional Zone” at honeywelluk.com/professional-zone/resource-centre/ for wiring diagrams and technical specifications.
Stay informed about new features and best practices through Honeywell’s events, webinars, and educational materials. Connect with the broader Honeywell community via GitHub for technical discussions and insights. Dedicated support teams are available to address specific installation or operational challenges, ensuring a seamless experience with your T6 thermostat.
Events, Webinars & Educational Materials
Honeywell regularly hosts events, webinars, and creates educational materials to empower installers and users with the latest knowledge about the T6 Pro Z-Wave thermostat. These sessions cover advanced configuration options, troubleshooting techniques, and best practices for maximizing energy efficiency.
Access schedules and registration details through the Honeywell Home website (honeywellhome.com) and the Professional Zone (honeywelluk.com/professional-zone/). Explore ebooks and reports offering business insights and technical deep dives. These resources are designed to enhance your skills and ensure successful T6 installations and ongoing support for your customers.
Business Insights & Professional Resources
Honeywell provides valuable business insights and professional resources tailored for HVAC professionals installing the T6 Pro Z-Wave thermostat. These materials aim to help you grow your business and deliver exceptional customer service. Access detailed information on the Professional Zone (honeywelluk.com/professional-zone/) including marketing materials, sales tools, and competitive analyses.
Explore resources designed to showcase the benefits of the T6 system to homeowners, emphasizing energy savings and smart home integration. Leverage these tools to differentiate your services and build lasting client relationships. Honeywell is committed to supporting your success with comprehensive professional support.
GitHub & Technical Documentation
For advanced users and developers, Honeywell offers access to technical documentation and resources via GitHub. This platform provides a space for exploring the T6 Pro Z-Wave thermostat’s integration capabilities and accessing detailed API information. Developers can leverage these resources to create custom integrations and expand the functionality of the thermostat within broader smart home ecosystems.
Explore code samples, technical specifications, and community contributions to enhance your understanding of the T6’s underlying technology. Honeywell’s commitment to open access fosters innovation and allows professionals to tailor solutions to specific client needs. Access the GitHub repository for the latest updates and collaborative opportunities.
Skills Development & Training
Honeywell recognizes the importance of continuous professional development for installers. To support this, they offer a range of events, webinars, and educational materials designed to enhance your expertise with the T6 Pro Z-Wave thermostat. These resources cover everything from basic installation techniques to advanced configuration options and Z-Wave integration strategies.
Stay up-to-date with the latest product features and best practices through Honeywell’s training programs. Access valuable insights and practical tips to deliver exceptional service to your customers. Invest in your skills and become a certified Honeywell installer, demonstrating your commitment to quality and professionalism.
Saving Installation Manual for Future Reference
Important: Retain this Honeywell T6 Installation Manual for future troubleshooting, maintenance, or re-installation purposes. Proper documentation ensures you have access to critical wiring diagrams, setup instructions, and safety precautions whenever needed. Consider creating a digital backup by scanning or photographing key pages for convenient access on your devices.
A readily available manual simplifies future servicing and helps avoid potential errors. Share this information with homeowners to empower them with knowledge about their thermostat system. Regularly reviewing the manual reinforces best practices and ensures long-term system performance and reliability.