Welcome! This manual guides you through the Pioneer DEH-150MP car receiver’s features. It ensures proper use and safety, with warnings and cautions included.
Model Identification & Key Features
The Pioneer DEH-150MP is a CD receiver with RDS functionality, designed for in-car entertainment. Key features include CD playback, AM/FM radio tuning, and an AUX input for connecting external devices. This model boasts a user-friendly interface for easy navigation through its various functions.
It supports a wide range of audio formats commonly found on CDs. The receiver’s design prioritizes simplicity and reliability, offering essential features for a satisfying listening experience. Its compact size allows for easy integration into most vehicle dashboards. Currently, user reviews average a rating of 38/100, with 8 votes cast, and 4 frequently asked questions available online.
Package Contents & Initial Inspection
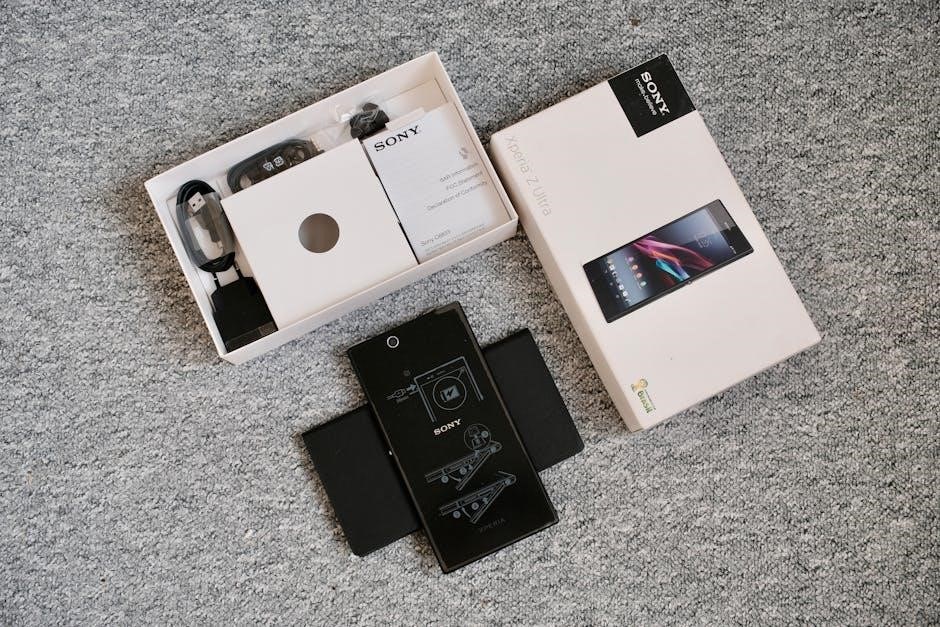
Upon opening the package, verify the presence of all components. You should find the Pioneer DEH-150MP car receiver unit itself, a comprehensive owner’s manual (this document!), and potentially a wiring harness for vehicle connection. Inspect all items for any signs of physical damage incurred during shipping.
Carefully examine the receiver’s front panel, buttons, and connectors. Ensure the LCD display is intact and free from scratches. If any damage is detected, immediately contact the retailer or Pioneer support. Proper installation is crucial; professional installation is recommended. Retain all packaging materials for potential returns or warranty claims. A quick visual check ensures a smooth setup process.
Installation Guide
Professional installation is highly recommended for optimal performance and safety. This guide details wiring, antenna setup, and secure mounting of the DEH-150MP.
Wiring Diagram & Connections
Careful wiring is essential for proper operation. Utilize the provided wiring harness to connect the DEH-150MP to your vehicle’s electrical system. Match wire colors precisely – typically, yellow is for constant 12V power, red for switched 12V (ignition), black for ground, and blue for power antenna.
Speaker connections involve pairing positive (+) and negative (-) wires to corresponding speaker terminals. Ensure correct polarity to maintain sound quality. Refer to the detailed wiring diagram in this manual for specific vehicle compatibility. Incorrect connections can damage the unit or your vehicle’s electrical system. Double-check all connections before powering on the receiver.
Caution: Disconnect the vehicle’s negative battery terminal before installation to prevent short circuits.
Antenna Installation
Optimal radio reception relies on a properly installed antenna. Connect the antenna coaxial cable to the antenna input on the rear of the DEH-150MP. Ensure a secure connection to minimize signal loss. If replacing the antenna, choose one compatible with your vehicle and the receiver’s impedance.
For best results, mount the antenna in a high, unobstructed location. Avoid running the antenna cable near power wires to prevent interference. Check local regulations regarding antenna installation. A poorly installed antenna can result in weak or distorted radio signals.
Mounting the Receiver
Securely mounting the DEH-150MP is crucial for safe operation. Use the provided mounting sleeve and bracket to install the receiver into your vehicle’s dashboard opening. Ensure the opening is free of obstructions. Connect the wiring harness and antenna cable before fully inserting the receiver.
Carefully slide the receiver into the dashboard opening until it clicks into place. Use the trim rings (if applicable) to provide a flush finish. Professional installation is recommended to avoid damaging your vehicle’s dashboard or the receiver itself.
Double-check that the receiver is firmly secured before operating your vehicle.
Basic Operations

Get started quickly! This section details powering the unit on/off, adjusting volume, selecting sources (CD, radio, AUX), and tuning into your favorite stations.
Powering On/Off & Volume Control
Powering On: To activate the DEH-150MP, simply press the power button. The receiver will illuminate, and your previously selected audio source will begin playing. If it’s the first time powering on, it will default to the radio.
Powering Off: Press the power button again to turn the unit off. The display will darken, and the receiver will enter standby mode. Ensure the ignition is off to prevent battery drain.
Volume Adjustment: The volume knob controls the audio output level. Rotate clockwise to increase the volume and counter-clockwise to decrease it. For precise adjustments, use small increments. Be mindful of listening at safe volume levels to protect your hearing.
Mute Function: A dedicated mute button is available for instantly silencing the audio. Press it again to restore the sound to the previous volume level.
Source Selection (CD, Radio, AUX)
Selecting a Source: The Pioneer DEH-150MP offers multiple audio sources. To switch between them, use the “Source” button on the front panel. Each press cycles through available options: CD, Radio (AM/FM), and AUX input.
CD Playback: When “CD” is selected, the unit will attempt to read a loaded disc. Ensure a compatible CD is inserted correctly.
Radio Tuning: Selecting “Radio” activates the tuner. Use the tuning knob or preset buttons to find desired stations. The unit supports AM and FM bands.
AUX Input: Choosing “AUX” enables the auxiliary input. Connect your external device (smartphone, MP3 player) via a 3.5mm cable for audio playback. Ensure the external device’s volume is appropriately set.
Tuning the Radio (AM/FM)
Manual Tuning: To manually tune the radio, rotate the tuning knob. Turning it clockwise increases the frequency, while counter-clockwise decreases it. The current frequency is displayed on the screen. For precise tuning, slow down the rotation as you approach the desired station.
Preset Stations: The DEH-150MP allows you to store favorite stations as presets. Press the preset buttons (1-6) to recall a saved station instantly. To store a station, tune to it and press and hold a preset button until it’s saved.
Band Selection: Switch between AM and FM bands using the “Band” button. The current band is indicated on the display. FM generally offers better reception and stereo sound.
CD Player Functions
Enjoy your music! This section details CD loading, playback controls, menu navigation, and utilizing repeat/random play options on your DEH-150MP.
CD Loading & Playback
Inserting a CD: To load a disc, gently insert it into the CD slot on the front panel of the DEH-150MP. The unit will automatically draw the disc in for playback. Ensure the label side faces upwards for correct operation.
Playback Controls: Once loaded, the CD will begin playing. Use the Play/Pause button to start or stop the music. The Fast Forward (FF) and Rewind (RW) buttons allow you to skip tracks or navigate within a track. Pressing and holding these buttons will enable fast forwarding or rewinding. The Eject button will release the CD.
Disc Compatibility: The DEH-150MP supports standard audio CDs. CD-R and CD-RW discs are also compatible, but may have limited playback depending on the recording format. Always ensure discs are clean and free of scratches for optimal performance.
CD Menu Navigation
Accessing the CD Menu: While a CD is playing, pressing the Menu button (if equipped – functionality may vary) will bring up the CD menu on the display. This menu allows access to various CD playback options.
Menu Options: Within the CD menu, you can typically navigate using the tuning knob or arrow keys. Available options may include Scan (to play the beginning of each track), Shuffle (for random playback), Repeat (to repeat a track or the entire disc), and Program (to create a custom playlist).
Selecting Options: Highlight the desired option using the navigation controls and press the Enter or OK button to confirm your selection. To exit the CD menu, press the Menu button again or simply return to playback.
Repeat & Random Play Modes
Repeat Mode: The Pioneer DEH-150MP offers several repeat options. Pressing the Repeat button cycles through modes: Repeat Track (plays the current track continuously), Repeat Folder (if applicable, repeats all tracks in the current folder), and Repeat Disc (plays the entire CD repeatedly). An icon on the display indicates the active repeat mode.
Random Play (Shuffle): To activate random playback, press the Random or Shuffle button. The receiver will play tracks in a random order. Pressing the button again deactivates random play, returning to normal sequential playback.
Combining Modes: Note that repeat and random play modes can sometimes be used together, depending on the specific implementation. Experiment to understand how these features interact on your unit.
Advanced Features
Explore further! This section details connecting iPods/iPhones, utilizing the AUX input, and understanding RDS functionality, if your model supports it.
iPod/iPhone Connectivity
Connecting your Apple device to the DEH-150MP enhances your listening experience. Utilize the appropriate cable (sold separately) to connect your iPod or iPhone directly to the receiver’s front AUX input or, if equipped, the dedicated iPod/iPhone connector.
Once connected, select the “iPod” or “iPhone” source on the receiver. The unit will automatically begin charging your device and allow you to control playback – including track selection, pausing, and volume – directly from the receiver’s interface.
Navigation through playlists and albums is typically managed using the receiver’s rotary encoder or buttons. Refer to the on-screen display for specific control options. Ensure your device’s software is up-to-date for optimal compatibility.
AUX Input Usage
The AUX input on your Pioneer DEH-150MP allows connection of external audio devices – smartphones, MP3 players, or other audio sources – without Bluetooth. Simply connect a standard 3.5mm stereo audio cable from the headphone output of your device to the AUX input jack on the receiver’s front panel.
After connecting, select “AUX” as the source on the head unit. The audio from your external device will then play through your car’s speakers. Volume control is managed through both the external device and the receiver.

For best audio quality, ensure the volume on your external device is set to approximately 75-80% and adjust the receiver’s volume accordingly. This minimizes distortion and maximizes clarity.
RDS Functionality (if applicable)
Radio Data System (RDS), if supported in your region and by the broadcasting station, enhances FM radio reception on the Pioneer DEH-150MP. RDS displays station names, program types (like News or Music), and potentially traffic announcements directly on the receiver’s display.
To utilize RDS, ensure the “PTY Search” or similar RDS setting is enabled within the radio menu. The receiver will automatically scan for RDS-enabled stations. When a station broadcasts RDS data, the station name or program type will be visible.
RDS functionality depends on broadcast availability; not all stations transmit RDS signals. If no RDS data is received, the display will show the frequency instead of station information.

Troubleshooting & FAQs
Facing issues? This section provides solutions to common problems and answers frequently asked questions regarding your Pioneer DEH-150MP car receiver.
Common Issues & Solutions
No Power: Verify the fuse and wiring connections. Ensure the receiver is properly grounded to the vehicle chassis. A blown fuse is a frequent cause.
No Sound: Check speaker connections and volume level. Confirm the correct audio source is selected. Inspect the wiring harness for loose connections or damage.
Radio Interference: Ensure the antenna is securely connected. Try a different antenna location. Interference can also stem from external sources; relocate if possible.
CD Playback Issues: Clean the CD lens with a lens cleaner. Use undamaged CDs. Avoid exposure to extreme temperatures or direct sunlight. Ensure the disc is finalized.
Display Problems: Reset the unit to factory defaults (see section below). If the issue persists, professional service may be required.
Resetting the Unit to Factory Defaults
To restore the Pioneer DEH-150MP to its original factory settings, follow these steps. First, ensure the unit is powered on. Then, press and hold the “SRC” button while simultaneously turning the power off. Continue holding the “SRC” button as you turn the power back on.
Hold both buttons until the display flashes and resets. This process will erase all custom settings, including saved radio stations, volume levels, and personalized configurations. This is useful for troubleshooting persistent issues or preparing the unit for sale.
Caution: This action is irreversible. Back up any important settings if possible before performing a factory reset. Refer to the full manual for visual aids if needed.